
Unwrapping UV coordinates
Open the snowman.arg file in the fragMOTION/Models directory
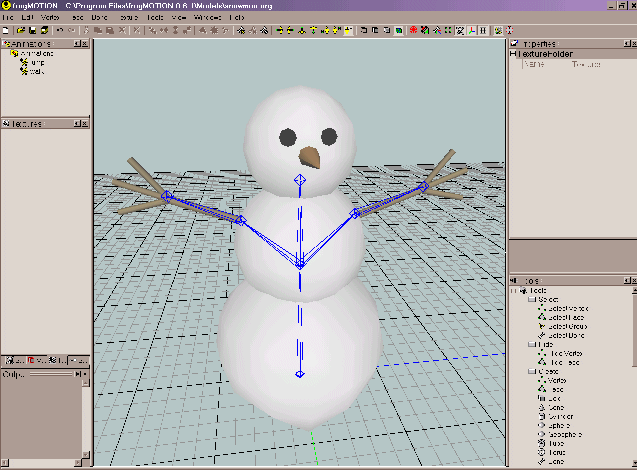
Select the faces whose uv coordinates you want unwrapped. For this example hold the 'g' key and left click the center sphere. Then from the menu select Texture/Unwrap UV Coords.
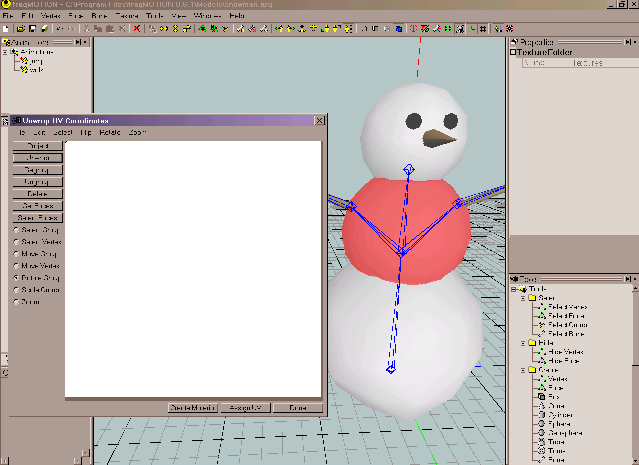
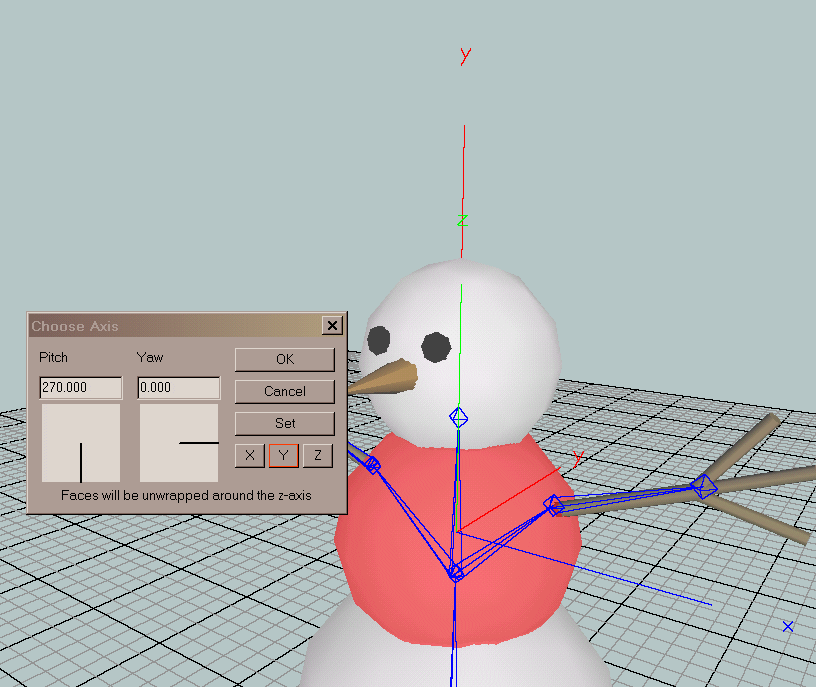
Click the 'Unwrap' button in the Unwrap UV Coords dialog. This will display a dialog that will allow you to select an axis. The selected faces will be spun around this axis and then they will be arranged in the dialog window so that they form a contiguous flat surface. If this isn't possible the selection will be broken down into smaller groups. Click the Y button so that the chosen z-axis aligns with the global y-axis. Click OK.
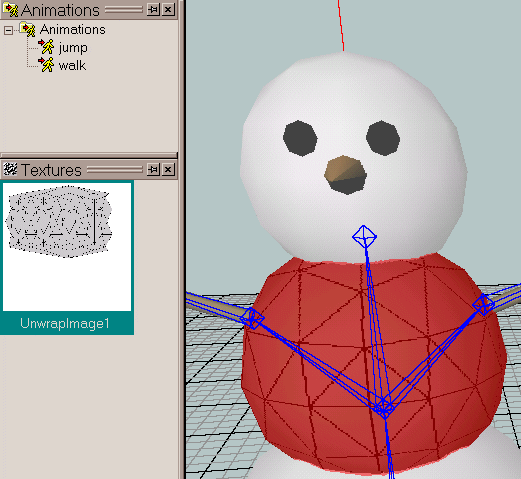
You should see the following in the unwrap dialog now. You can move this new group and scale it as you like. You can also select vertices in the group and move them as well. When you are done tweaking the uv coords, click the 'Create Material' button. This will create a texture and a material with a texture layer referencing the new texture and will also assign the new uv coords. You can optionally click 'Assign UV' if you don't want a material and texture to be created.

Close the Unwrap dialog and you should see the following in the workspace.
IMPORTANT: the newly created texture exists in memory only, so if you want to keep it you will need to save it to a file. From the menu you can select File/Save Textures, OR if you only want to save a particular texture you can right click the texture and select 'Save Texture As'. Once the texture is saved you can open it in a paint program and modify it. The triangle outlines will act as a guide. If you need help remembering which face belongs where you can mark them in fragMOTION using the Paint 3D tool.
NOTE: Sometimes it's necessary to rearrange the faces after unwrapping. To do this you need to select the group that contains the faces and click the 'Ungroup' button. Each face will now be its own group and you can modify them accordingly. When you are done modifying the faces you can select some or all of the faces and hit the 'Regroup' button. The faces will be one group again. Select the Edit/Snap Together Faces menu item to complete the change (note: you can only snap together faces that are in the same group). This will automatically find neighboring faces and align their edges so that the group appears to be one contiguous surface. The behavior of the this function can be tweaked by clicking the Edit/Unwrap Behavior menu item.
Other buttons in the Unwrap UV Coords dialog:
-
Project - Does a simple parallel projection. The selected faces in the mesh will be rotated so that the average face normal is perpendicular to the surface into which the faces are projected.
-
Get Faces - Retrieves the selected faces from the mesh and displays them using their existing uv coords. This can be used to modify a previous unwrap operation. From the main menu select the Edit/Select None menu item. Then select the material that was created by the previous unwrap operation, right click and select the 'Select Assigned faces' menu item. Then in the unwrap dialog, click the 'Get Faces' button. Assuming you haven't modified the uv coords the faces will be arranged exactly as they were during the previous unwrapping.
-
Select Faces - Faces contained in the selected groups in the unwrap dialog will be selected in the mesh. This is useful for determining which faces you are actually modifying.
Copyright © 2004 Fragmosoft